Crafting Vertical Magic: Quick Guide to Starting a Vertical Project in Final Cut Pro

3-Minute Read
Vertical videos have become a staple on social media platforms, offering a unique and engaging viewing experience. If you're eager to create vertical content using Final Cut Pro, follow this concise guide to learn how to create vertical projects inside Final Cut Pro in no time.
Shop our Final Cut Pro Plugins today and save!
Step 1: Launch Final Cut Pro and Start a New Project
Open Final Cut Pro on your computer. Begin by creating a new project. Click on "File" > "New" > "Project" to access project settings.
Step 2: Set Up Vertical Project Properties
In the project settings, click the drop down box under "Video". Once you click this, select the "Vertical" option:
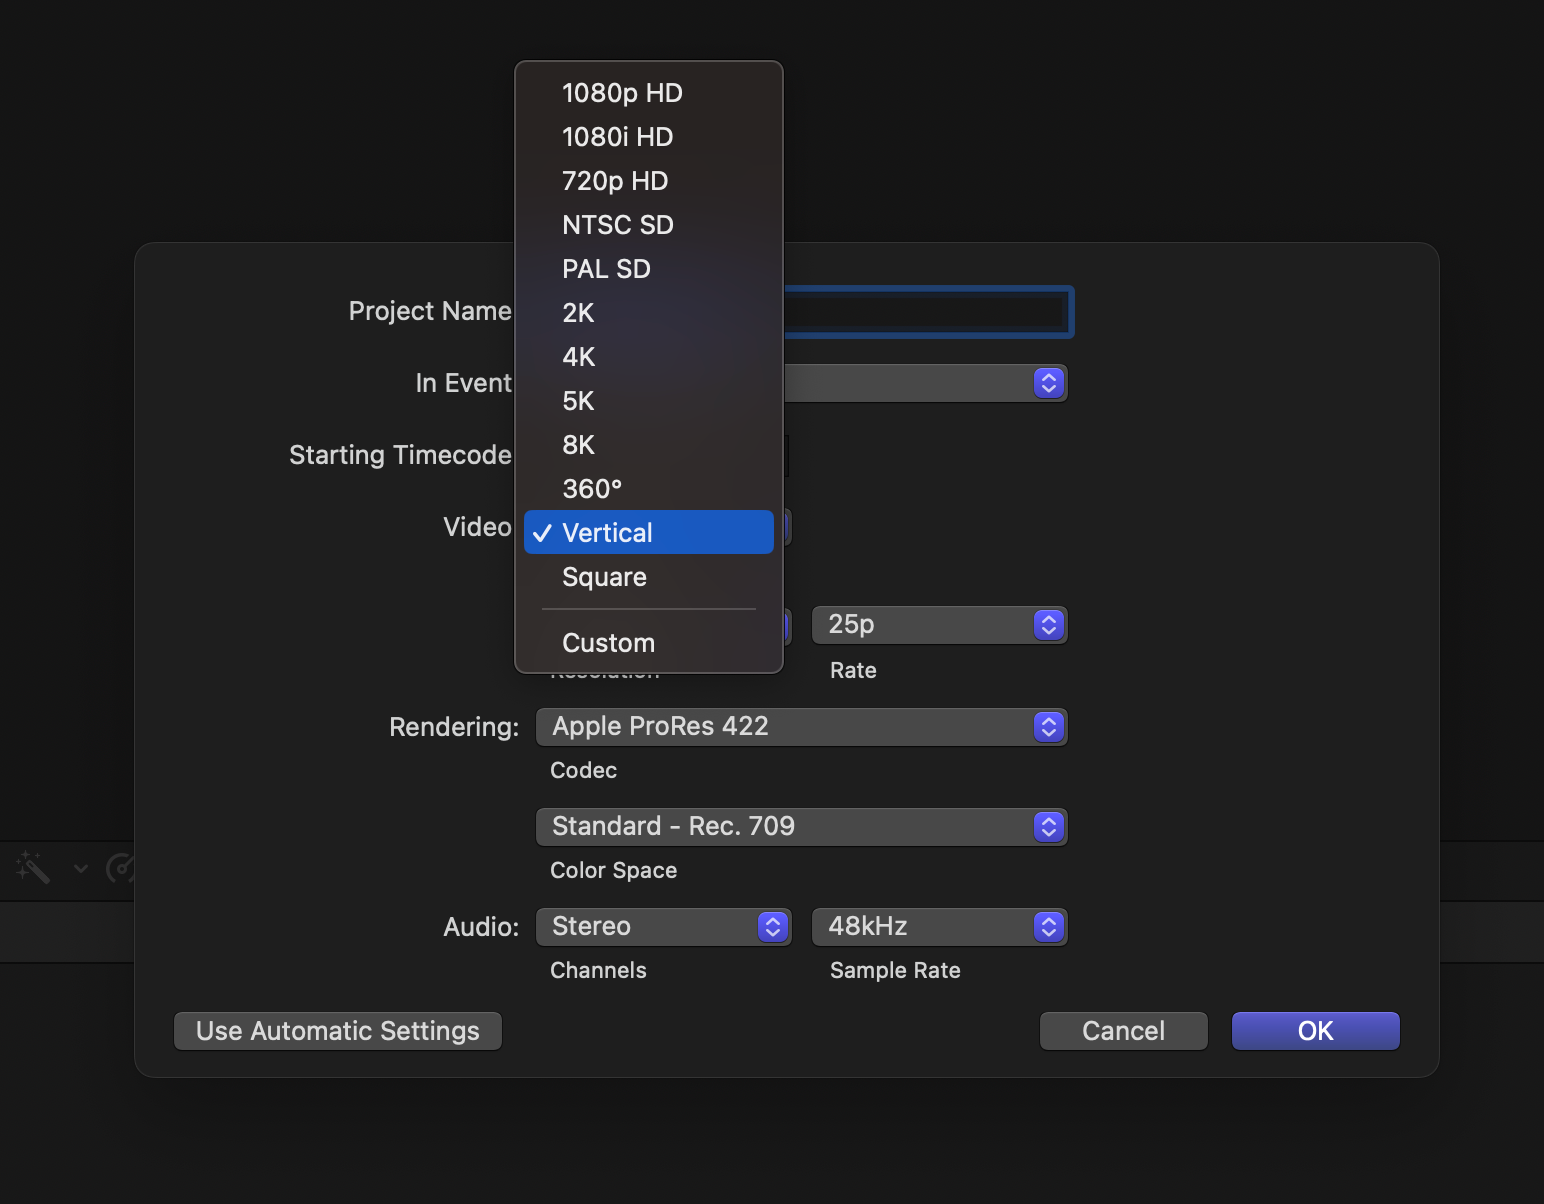
You can choose from from three frame size options after this, the bigger the number the larger and higher quality your movie will be (but be warned - the bigger the frame, the bigger the file):

Optimal dimensions for vertical videos are typically 1080 pixels wide by 1920 pixels high. This ensures your video looks great on platforms like Instagram and TikTok.
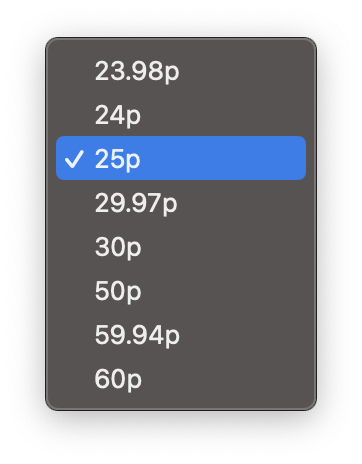
Step 3: Adjust Frame Rate (Optional)
Consider your preferred frame rate. Social media platforms like Instagram, Tik Tok, Facebook and Snapchat accept videos in all frame rates, so you should select a frame rate based on your footage's frame rate:
Step 4: Name and Save Your Project
Give your project a meaningful name and select a location to save it. Organizing your projects helps streamline your editing workflow.

Step 5: Choose Rendering Settings
Under "Video Properties," set your rendering settings. For high-quality vertical videos, use the Apple ProRes 422 codec. Adjust other settings based on your project requirements.Step 6: Create Your Vertical Timeline
Click "OK" to create your new vertical project. Final Cut Pro will open a timeline with the specified vertical dimensions, ready for you to start adding clips and crafting your vertical masterpiece.
Congratulations! You've successfully set up a vertical project in Final Cut Pro. Now, dive into the creative process, import your vertical footage, and begin editing your content to captivate your audience in the dynamic world of vertical video storytelling.
Did you know that using Final Cut Pro plugins can help to streamline your editing, making it faster and easier to create professional videos. Click here to explore more.


Leave a comment